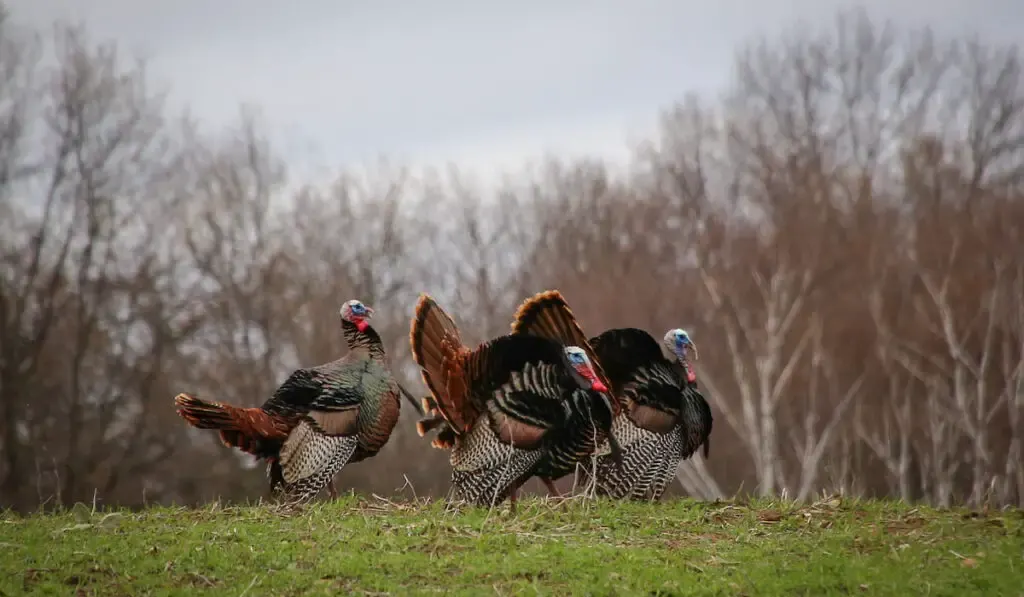
When we talk about turkeys, the first thing to cross most people’s minds is a grand dish made from these birds during Thanksgiving in the US and other festive seasons. Although turkeys are commonly associated with their close relatives the guinea fowls, these birds possess their own distinctive traits that make them more popular than other large domesticated birds.
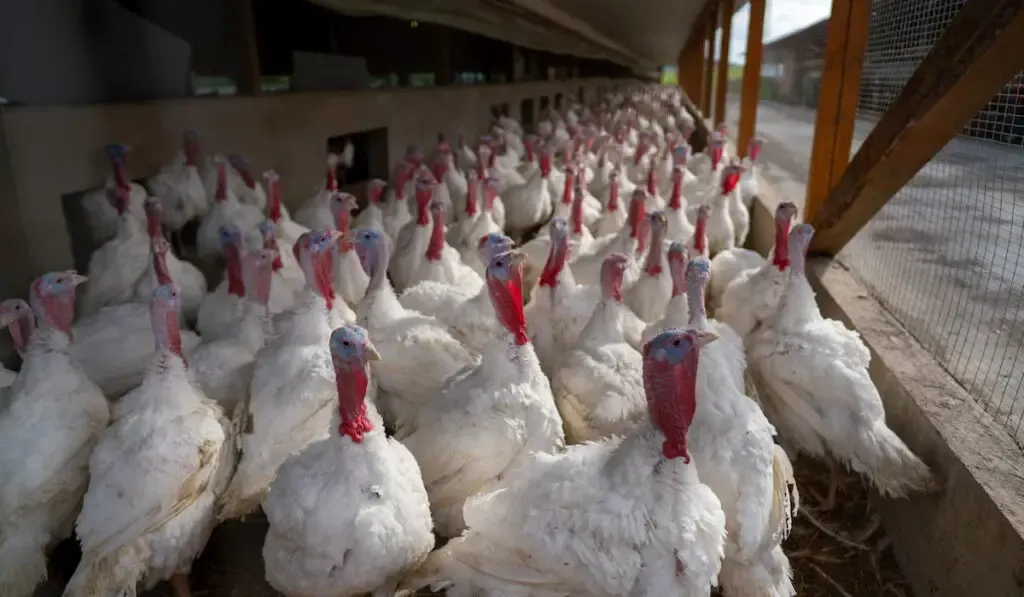
All over the world, turkey farms have grown significantly due to the fast growth rate of these birds. What’s more interesting is that these birds are economically viable, and can even be raised at a small scale in many regions.
In this article, we will take an in-depth look at how to raise your own turkeys. This comprehensive guide is practical both for backyard raising or for anyone who is looking to raise turkeys commercially.

Choosing The Best Turkey Breed
When starting out, determining which breed suits you best is important to ensure that you’re not wasting time, energy, and money on the wrong breeds. Turkeys are raised mainly for their meat and these fowl aren’t good layers.
Although they do lay eggs from time to time, don’t expect them to produce a good amount of eggs, let alone provide you with a constant supply of eggs.
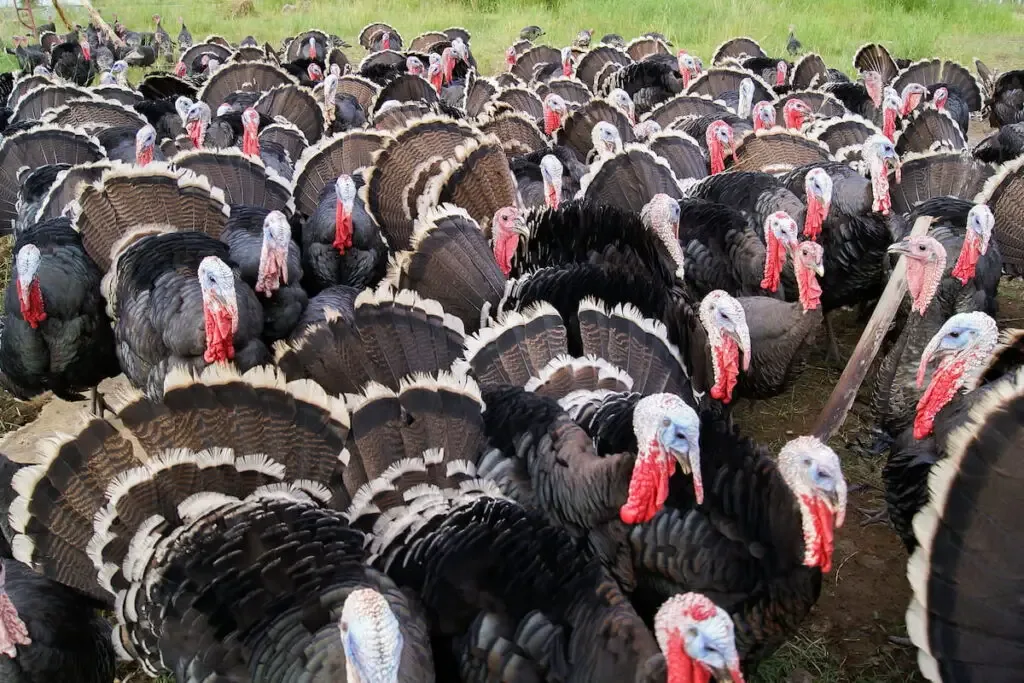
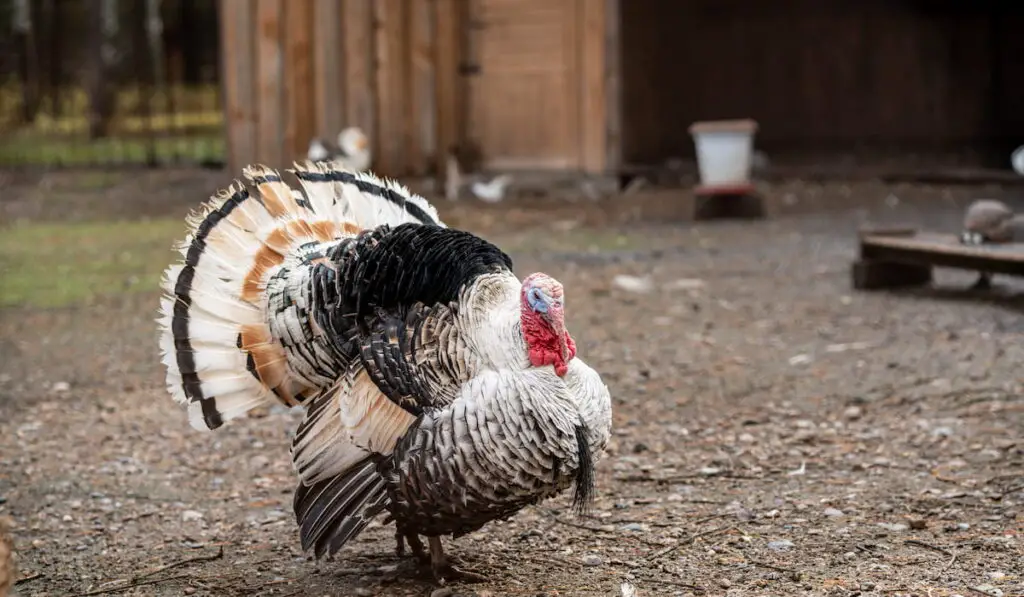
Turkeys come in different sizes, shapes, and forms. People with a small backyard or farm may prefer heritage breeds over industrial or commercial turkeys because they don’t require much space. They are also much lighter in weight with sturdy and lean muscles.
On the other hand, breeders who are looking for low-maintenance turkeys that could grow quick each year may opt for domestic breeds. There is no right or wrong choice. Each breed is special in its own way.
This table shows some of the most popular turkey breeds that are commonly raised for their meat:
| Turkey Breeds | Weight | Height | Types |
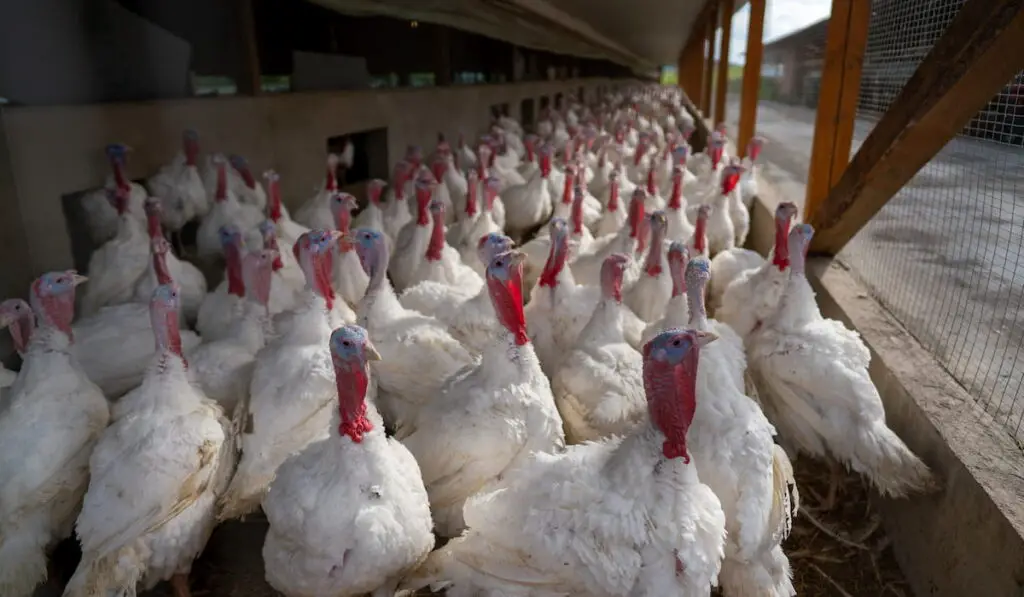
| Broad Breasted White | 30 to 50 lbs | 3 to 4 feet | Commercial |
| Bourbon Red | 18 to 32 lbs | 2 to 3.5 feet | Heritage |
| Chocolate Turkey | 18 to 33 lbs | 3 to 4 feet | Heritage |
| Jersey Buff | 12 to 21 lbs | 3 to 4 feet | Heritage |
| Midget White | 10 to 12 lbs | 2 to 2.5 feet | Heritage |
| Blue Slate | 14 to 23 lbs | 2 to 3 feet | Heritage |
| Broad Breasted Bronze | 22 to 38 pounds | 3 to 4 feet | Commercial |
| Black Spanish | 18 to 27 lbs | 2 to 3 feet | Heritage |
| Narragansett | 18 to 30 lbs | 2 to 3 feet | Heritage |
| Beltsville Small White | 10 to 17 lbs | 2 to 2.5 feet | Heritage |
| Royal Palm | 12 to 22 lbs | 2 to 3 feet | Heritage |
| White Holland | 18 to 33 lbs | 3 to 4 feet | Heritage |
| Standard Bronze | 22 to 38 lbs | 3 to 4 feet | Heritage |
If you are new to raising turkeys, it is best for you to purchase poults (baby turkeys) compared to hatching turkey eggs or even breeding adult turkeys. This is because breeding turkeys and hatching their eggs require a set of knowledge and skills that experienced breeders have. But once you’ve started with your very first flock, there is no doubt that you can raise your own turkeys from eggs.
Generally, it takes around 28 to 31 days for turkey eggs to hatch and between 6 and 7 months for the poults to reach sexual maturity. Speaking of poults, you usually have to purchase them in a small flock to reduce the price for each turkey chick (poult). But once you know how to raise them, it is much cheaper for you to breed and raise turkeys from eggs compared to buying the poults every year.
Another thing to note is that, although heritage breeds are slow-growing and smaller in size, they are able to breed naturally. But if you choose to go with commercial breeds, these turkeys aren’t able to breed on their own and they need artificial insemination.
Of course, their carcass is much bigger than heritage breeds, but the lack of natural reproductive quality is another thing you should consider and think through.

Brooding Area and Turkey Coop
Once you have purchased the young turkeys (poults) and brought them home, you need to provide these brooding poults with all the things that they need. Like baby chicks or ducklings, brooding poults need the same kind of brooder area.
This can be set up by using a kiddie pool or a small shelter. It is advisable for you to figure around 1 square foot of space per poult until they reach eight weeks old. Before releasing turkey poults into the brooder, be sure to clean and disinfect the area thoroughly.
For their bedding, you can use materials that dry easily such as pine shavings or straw. The brooder should also have good ventilation to prevent any moisture build-up or temperature drop that could affect the poults’ health.
Alternatively, you can install a heat lamp with a 100-watt light bulb. This lamp should be placed at least 15 to 18 inches above the birds to prevent burning or overheating issues. During the first week, the surrounding temperature of the brooder should be set to around 95°F.
Observe any changes in their behavior. If the poults sit too close to the heat lamp, then that is the sign that the surrounding temperature is a bit cold. For the subsequent weeks, drop the temperature by 5°F until the poults develop full feathers. This usually takes around 6 to 8 weeks.
Once they have reached at least 6 weeks old, these young turkeys can be transferred into a coop. From time to time, if you notice any aggressive poults that bully or peck the weaker birds inside the brooder, you can install a red heat bulb to solve this issue. Also, try not to use newspaper or any slippery covering to line the bottom of the brooder.
This could prevent ‘spraddle leg’, a health condition that could affect the ability of these growing turkeys to walk properly.
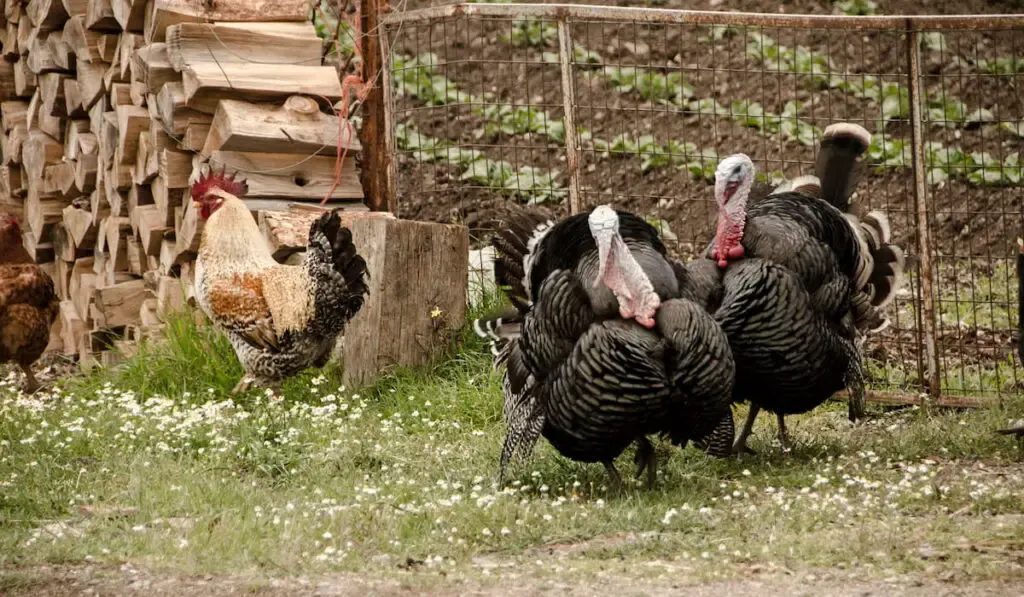
As with adult turkeys, their coop is similar to a chicken coop but only a bit larger. They can also be raised fully free-ranged or in a movable coop on a pasture.
Due to turkeys’ body sizes, if you raise them inside a coop or shelter, they need a bigger space or room to move freely.
As a general rule of thumb, you should provide at least 6.25 square feet of space per turkey.
Meanwhile, you can provide around 20 square feet of space per turkey for outdoor fowl. Roosting bars should also be built for your turkeys to stand and roost on them.
Finally, be sure to protect your turkeys with fences. These fences should stand at least 4 to 5 feet tall and be able to withstand harsh weather and strong predators.

Diet and Feeding Habit
Depending on their body sizes and ages, turkeys need different compositions of nutrients in different stages of their growth. Turkey poults require more protein and they need highly nutritious feed to facilitate their growth.
A good starter feed should contain at least 28 to 30 percent protein. Ideally, for their first six weeks, you should provide around 100 pounds of starter feed for 10 poults. If possible, purchase medicated feed that helps their body system to fight against coccidiosis.
In their first week, you should train these poults by dipping their beak in the brooder’s waterer. This will help them to notice and be familiar with the location of the waterer. When they reach 6 weeks old, their feed type should be changed into a grower ration that contains a lower protein base of 26 percent.
By 8 weeks, you can change the ration to around 20 or 22 percent protein. As they grow and reach 14 weeks old, you can reduce the protein in their feed to around 18 percent. At this stage, they should be able to forage for food. The feed would be an additional diet for them to eat whenever they can’t forage.
All of these feeds should be given inside feeders that are placed within or near their coop. Each turkey needs at least 2 inches of feeding space. These feeders should also be placed in a protected area and away from the rain.
Regular cleaning should be scheduled to remove dirt or mold that could grow in the feeders. When the turkeys are approaching 2 or 3 weeks before their butchering time, you can increase the percentage of carbohydrates in their feed to increase the weight of their carcass.
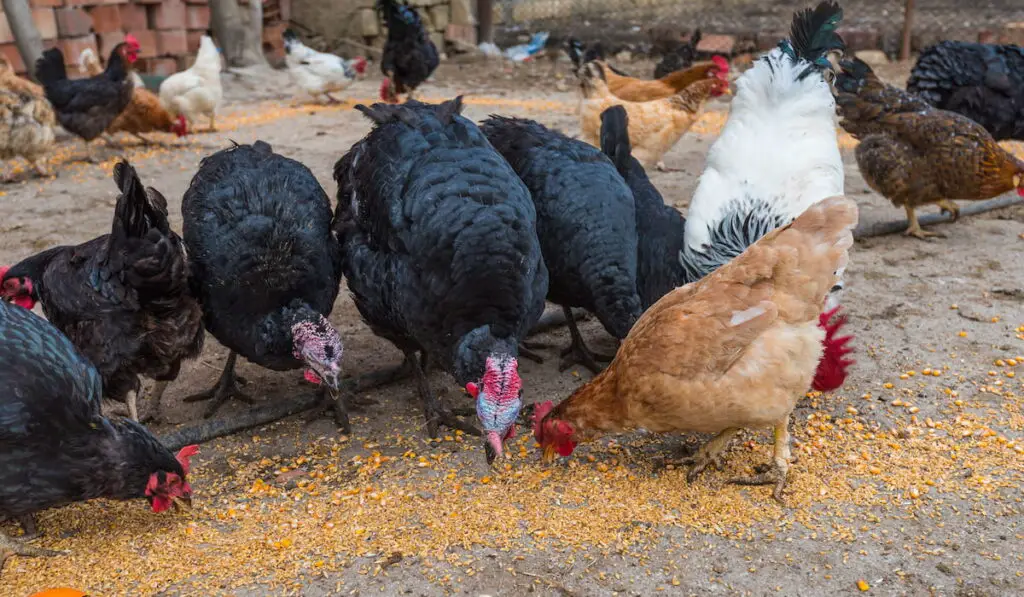
Aside from poultry feed and pellets, you also can incorporate a small portion of vegetables or plants in their diet. Turkeys can feed on various types of vegetables including lettuce, cabbage, carrot leaves, and many more.
They also love seeds and grains such as wheat, oats, alfalfa, cracked corn, millet, and sunflower seeds. As a general rule thumb, the portion of the fiber in their diet should be around 25 percent.
Last but not least, provide your turkeys with a constant supply of water. This could be done by installing an automatic waterer, a gravity watering system, or regular poultry fountains. Always clean and disinfect the waterer with non-alcoholic disinfectants to remove molds, microorganisms, and algae build-up.
Butchering and Processing Turkeys for Meat
For turkeys, hens will generally take around 16 weeks to mature with a weight between 8 to 16 pounds. Meanwhile, toms will take around 19 weeks to mature with a weight between 16 to 24 pounds. Larger toms will take a longer time to mature, which is around 20 to 22 weeks, and weigh approximately 40 pounds. During any of these periods, these fowl are large enough to be butchered.
Slaughtering your turkeys can be done by hiring a professional butcher or sending them to a local turkey processor. But you can save a lot of money by doing it yourself. Plus, it is a life-long skill that will benefit you for years to come.
· Get ready with all the tools
What you need to butcher turkeys are exactly the same tools being used to slaughter other poultry birds: sharp knives, ropes, short hoses with valves, pruning loppers, plastic tubs, and buckets.
Additionally, you can look for more advanced knives such as sticking knives, deboning knives, or pin feather knives. But simple, sharp, and strong knives are more than enough to do the job. Don’t forget to clean and sanitize all these tools with disinfectants.
· Kill the turkeys humanely
When it comes to the process of killing the birds, do it as humanely as you possibly can. You could cut and bleed these birds out until there’s no more blood left in their carcasses or simply hit their head to make them unconscious before removing their heads with an ax.
There is no one-size-fits-all method to kill the turkeys. Go with the one that you comfortably can do. Whichever method you choose, make sure the knives are very sharp to avoid repeating the process and hurting them unnecessarily.
· Clean the carcass
Once you’re through with the first but slightly harder step, you can take a breather and clean the carcass. Use a water hose and spray off any dirt or feces from the carcass. Be thorough and press the abdomen to remove and force out any stool through the vent.
· Scald and pluck the feathers
Before plucking the feathers, you will have to scald it in hot water. Soak the bird until the feathers can be plucked easily or without using too much force. Ideally, the water temperature should be between 145° F and 150° F. Keep the bird under water for around 45 seconds to 1 minute.
Then, pull the carcass out of the water and let the hot water drip off. You can hang the bird or place it on any flat surface to make the plucking process easier. If possible, remove the oil gland at the base of the tail—cut around and under the gland. If they’re not removed, these glands could affect the meat taste.
· Disembowel the turkey
Removing the inner parts of turkeys is a delicate process. First, start by cutting through the skin, a couple of inches below the vent. Do this slowly to avoid destroying or cutting the intestines. Wash the carcass quickly if you notice any presence of feces in the digestive tract. Then, slowly pull the intestine out followed by the gizzard and liver.
Inside the body cavity, you will find other organs including the heart, lungs, stomach, and more. Remove these organs slowly. After that, cut and slit up the skin of the neck to remove the trachea and esophagus. Finally, do a final thorough rinse of the carcass with cold water.
· Remove their feet
The last part of the turkey’s body that you have to deal with is the feet. You can do this by slowly cutting through the skin and ligaments at the joint to remove the feet. Avoid cutting through the bone because the feet could be used to make a thick stock. Remove the scales and toenails before doing a final rinse.

Dealing With Health Problems
Managing turkey health can be quite a tricky task. This is because these fowl generally don’t show obvious signs of sickness until the diseases have manifested through physical or behavioral changes.
By closely monitoring for any symptoms of illnesses, you can avoid late diagnoses that could lead to expensive treatments or worst, a deadly infection that could affect the whole flock.
Some of the illnesses that you should watch for in turkeys are:
· Avian Influenza
Also known as the bird flu, this illness can be detected in turkeys when these fowl possess some of the obvious symptoms. These include sneezing, swollen neck and head, breathing difficulty, swollen sinuses, and discharge from the eyes or nostrils. Avian influenza outbreaks may infect the whole flock. So, always be vigilant and monitor for any signs of this disease.
· Bumblefoot
Also known as the footpad ulcer or footpad dermatitis, this condition is caused by different factors including poor hygiene and sanitation, perching material, rough floors, or even physical conditions such as arthritis and obesity.
Some of the early symptoms of bumblefoot in turkeys are small abrasions and reddening of the footpad. Early treatment could prevent the spread of bacteria that could worsen this disease or worse, a serious infection that may require a professional’s help.
· Fowl Pox
Fowl pox can be divided into two categories: cutaneous and diphtheritic pox. Cutaneous pox is a dry pox that causes wart-like lesions or raised scabs on the turkeys’ heads and necks. This type of pox doesn’t lead to any serious diseases, except for pain or extreme irritation on the lesions. It can also heal on its own.
On the other hand, diphtheritic pox is a wet pox that causes canker-like growths and lesions in the upper airway and mouth of turkeys. This type of pox can cause respiratory problems and breathing difficulty in turkeys. Wet pox can also be treated by a veterinarian.
· Arthritis
Large turkey breeds are prone to develop arthritis when they grow older. Their body sizes could also make this condition worse if it’s being left untreated. Pain caused by arthritis can be alleviated using NSAIDs and other anti-inflammatory medications.
· Blue Comb Disease
The outbreak of this disease happens mostly during hot months, especially in the summer due to poor breeding habits being practiced on turkeys. Blue Comb disease affects younger turkeys more than older ones.
Symptoms of this disease are loss of appetite, depression, lethargy, a dark caruncle or wattle, and a decrease in egg production. A veterinarian will administer antibiotics to combat this issue, but if this condition goes untreated, it can quickly infect the whole flock.
· Aspergillosis
This disease is caused by a fungus named Aspergillus fumigatus. Spores from this fungus appear mostly on their bedding or on materials such as straw, wood shavings, and moldy grains.
Aspergillosis attacks turkeys’ respiratory system and leads to the accumulation of sticky and dense plaques, especially in the air sacs. Signs of aspergillosis in turkeys are lethargy, changes in voice tone, tail bobbing, lethargy, and a loss of appetite.
· Staph Infection
Staphylococcus infection is another disease that affects turkeys’ breathing system. This bacteria can enter their bodies through open wounds, especially if those turkeys are detoed or debeaked.
Symptoms of a staph infection include lethargy, swollen joints, ruffle feathers, and even sudden death. A stressful environment may also affect turkeys’ antibodies, which makes them prone to suffer from this infection.
· Flystrike
Flystrike happens when maggots live on any open wounds. These maggots may appear on the vent or burrowed deeply in turkeys’ bodies. Manual removal of these maggots is one of the easiest ways to solve this issue. After that, consult with a veterinarian for any medications or antibiotics for future prevention.
· Egg Binding
This condition happens when an egg is stuck in a hen’s oviduct. Egg binding could also lead to another serious problem known as cloacal prolapse. Symptoms of egg binding in turkeys include a loss in appetite, obvious straining, squatting, and open-mouthed breathing. Egg binding issues can be fatal without any immediate treatment.
· Blackhead Disease
This disease is caused by a protozoan (Histomonas meleagridis) carried by a certain species of roundworms called Heterakis gallinarum. Symptoms of blackhead in turkeys are sluggish behavior, bright yellow diarrhea, and turkeys’ head that slowly turn to dark blue.
Worst case scenario, this illness could also lead to sudden death. Blackhead is usually treated by administering anti-protozoal or antibiotics into the turkey’s bodies. Deworming and regular fecal testing are also some of the ways to contain this illness from spreading.

Final Thoughts
Above all, if it’s done right, raising turkeys can be a fun and rewarding activity. Not only do turkeys grow quicker, but they also yield a large amount of meat compared to other poultry birds. One of the components of sustainable living is having your own source of food, continuously for years to come. And raising your own flock of turkeys can be the start of it!
Citations
- https://www.treehugger.com/how-to-raise-turkeys-3016860
- https://www.offthegridnews.com/current-events/top-headlines/a-guide-for-raising-turkeys/
- https://backyardpoultry.iamcountryside.com/eggs-meat/broad-breasted-vs-heritage-turkeys/
- https://www.hobbyfarms.com/how-to-get-started-raising-turkeys/
- https://www.purinamills.com/chicken-feed/education/detail/raising-turkeys-what-do-turkeys-eat-and-other-fun-facts
- https://www.anoffgridlife.com/how-to-raise-turkeys/
- https://www.theselfsufficienthomeacre.com/2013/11/how-to-raise-turkeys.html
- https://backyardpoultry.iamcountryside.com/eggs-meat/raising-backyard-turkeys-for-meat/
- https://chickenscratchny.com/raising-turkeys/
- https://morningchores.com/raising-turkeys/
- https://rosevinecottagegirls.com/the-beginners-guide-to-raising-turkey/
- https://opensanctuary.org/article/common-turkey-health-issues/
- https://backyardpoultry.iamcountryside.com/poultry-101/butchering-turkeys-from-gobble-to-table/