Every day, more and more people are discovering the health benefits of delicious oat milk. It’s a healthy alternative to dairy milk and other milk substitutes and is a great choice for people who have diet restrictions that limit their choices.
If you’ve got a high-speed blender, you can make oat milk quickly, but it isn’t the only way. You can save money on a blender by making oat milk without it first. After a few times, you can decide whether a good blender is something you want to invest in.
Making oat milk without a blender takes a few hours. Most people get the process going and let it sit overnight. You’ll need a strainer and a mortar and pestle to get the job done.
Your arm will get a good workout, but in a small amount of time, you’ll be drinking amazing homemade oat milk from a glass or pouring it over your favorite cereal.

Making health foods or food you need for a specialty diet is often better done at home. While it takes some extra work, you can guarantee that it’s got all of the right ingredients and it will cut down on the amount of sugar you are consuming.
It also usually ends up saving you money.
Read on to learn some interesting facts about oat milk, some of its most important health benefits, and how you can make your own oat milk at home without a blender.
What Is Oat Milk?
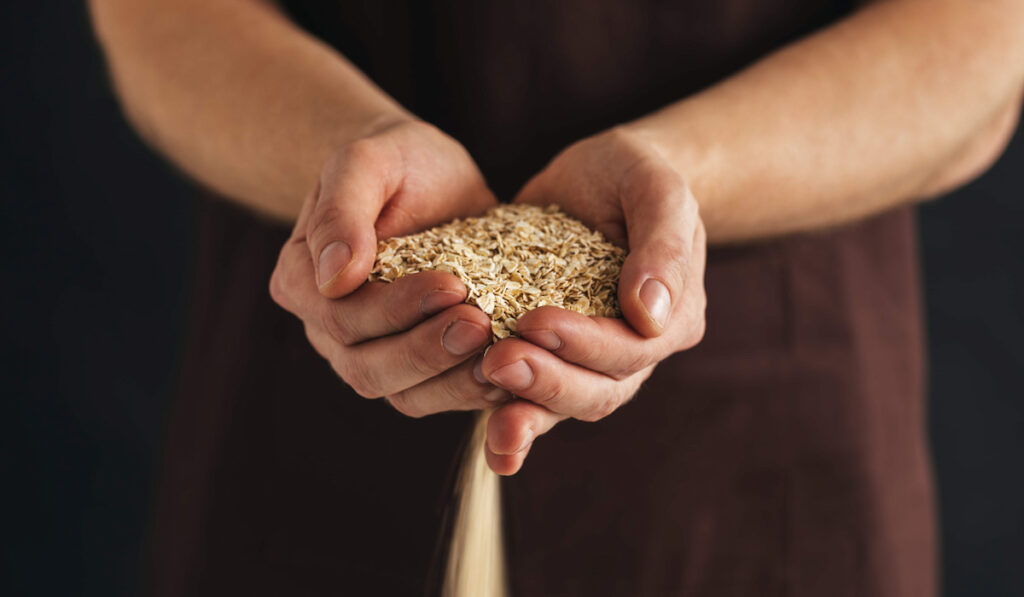
If you’re new to the oat milk world, first of all, welcome! Oat milk is a healthy drink that is made from steel-cut oats, oat groats, or rolled oats.
It’s believed that diets rich in whole grains like oats provide many health benefits. They help the digestive system and work to prevent many diseases. It’s also believed to lower total cholesterol levels in people who drink it regularly.
These days, you can find oat milk in most grocery stores. It’s been in health food stores for years, but its popularity and wide appeal to people who are lactose intolerant are pushing it into more stores every day.
Why You Should Drink Oat Milk
Besides being a good alternative to dairy milk, oat milk has a lot of advantages. It is rich in potassium, Vitamin B, calcium, and magnesium.
People looking for calcium don’t need to feel like they are missing something by substituting oat milk for dairy milk. You’ll get a rich source of calcium in every glass.
It’s a vegan drink, perfect for people who don’t want to consume animal products, and for people who are sensitive to soy that’s found in soy milk.

Oat milk comes in a variety of flavors to fit every palette. You can find it in vanilla, chocolate, and some other adventurous flavors. It’s safe and won’t trigger any food allergies in most cases.
One thing to keep in mind is that, despite all of oat milk’s benefits, it does not have the Vitamin D that’s found in dairy milk.
Also, if you’re going to be making oat milk at home, it won’t be fortified with the calcium that you’ll find in milk you buy in grocery stores. You should always check to see you’re getting adequate vitamins and minerals. Be sure to supplement when necessary.
Basic Oat Milk Facts for At-Home Enthusiasts
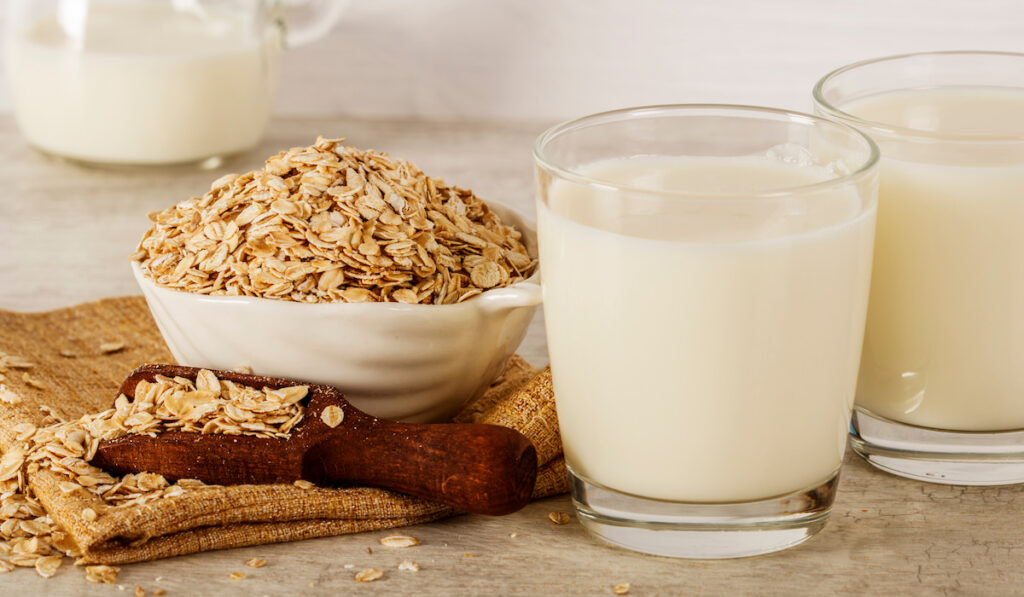
If you’re excited to make oat milk at home, we’re right there with you! It’s a wonderful feeling, making your own oat milk from scratch. You know exactly what’s going into the product and what you are putting into your body.
When learning to make oat milk at home without a blender, though, you should know some things about it to make sure you get the most out of every batch. Here are some interesting facts about oat milk:
- A homemade batch of oat milk will usually last around three days in your fridge. Store it in an airtight container to prevent it from spoiling early.
- Because it’s homemade, it will separate faster than store-bought pasteurized milk.
- If it separates, you can always give it a good mix to get it back into a smooth consistency.
Using a Blender vs. Making It by Hand
If you’re worried about speed and getting the best consistency in your homemade oat milk, then you can’t beat having a high-speed blender. Even a very affordable hand blender will get you some smooth, delicious oat milk with minimal effort.
However, a lot of people want to try making oat milk by hand. That’s perfectly alright and a good idea if you want to see how it will turn out before you shell out some cash to buy a blender.
If you don’t have a blender, you’ll just need some more time to get to a good finished product. Have patience and have fun with the experience!
How to Make Oat Milk without a Blender
With no blender, you’re getting to the roots of milk making. Here are the steps you’ll need to follow:
Step 1 – Soak the Oats
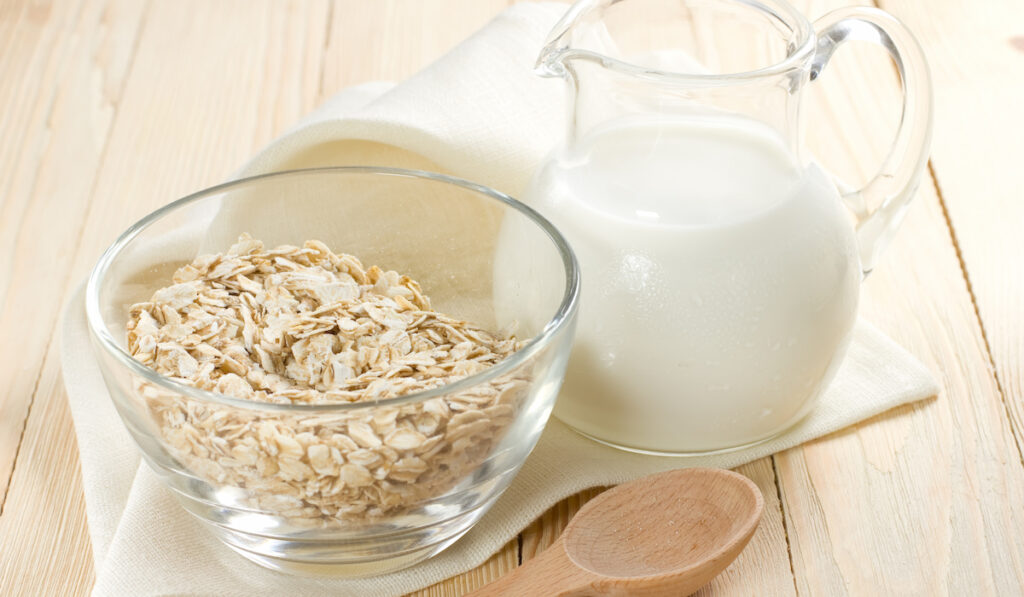
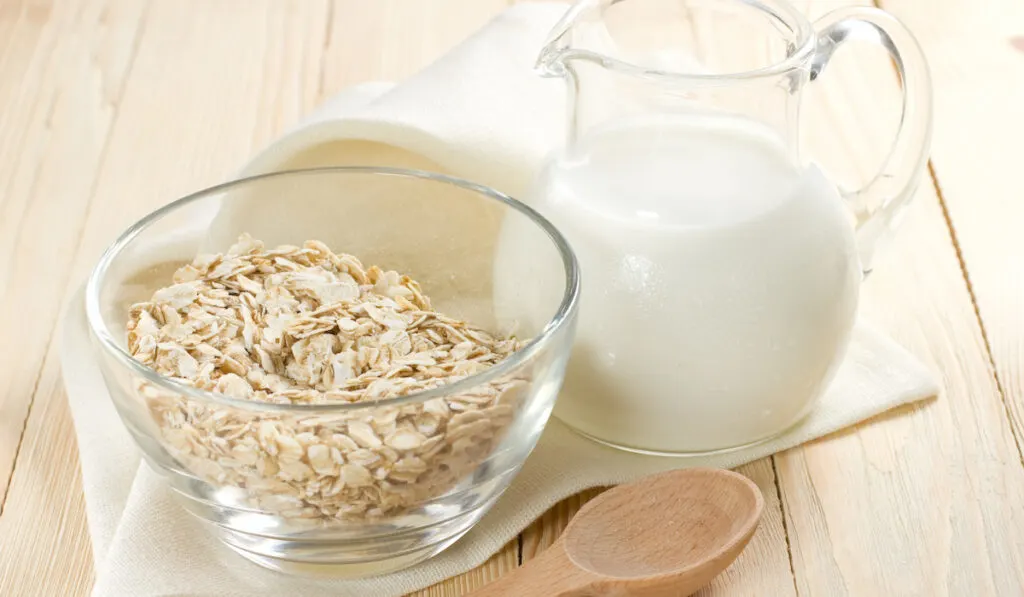
First, you’re going to need to soak the oats. Fill up a bowl of some type of container with water and pour the oats in.
Ideally, the oats will sit in the water for around eight hours. A good idea is to put them in the water before you sleep and take them out when you wake up in the morning.
Step 2 – Drain
Drain the water with a strainer and keep the soaked oats. You can set aside the water. Don’t discard it.
Step 3 – Grind the Oats
Use a mortar and pestle to grind and crush the oats. It’s going to take some time and some muscle, but make sure you get the oats crushed as finely as possible.
Doing it by hand will make the oat milk taste all that much sweeter in the end.
Step 4 – Slowly Add Water
As you crush the oats, slowly mix the water into the bowl.
If you run out of water, keep adding new water. It’s important not to add too much water or add too quickly because it’s going to affect the flavor and consistency. Go slowly.
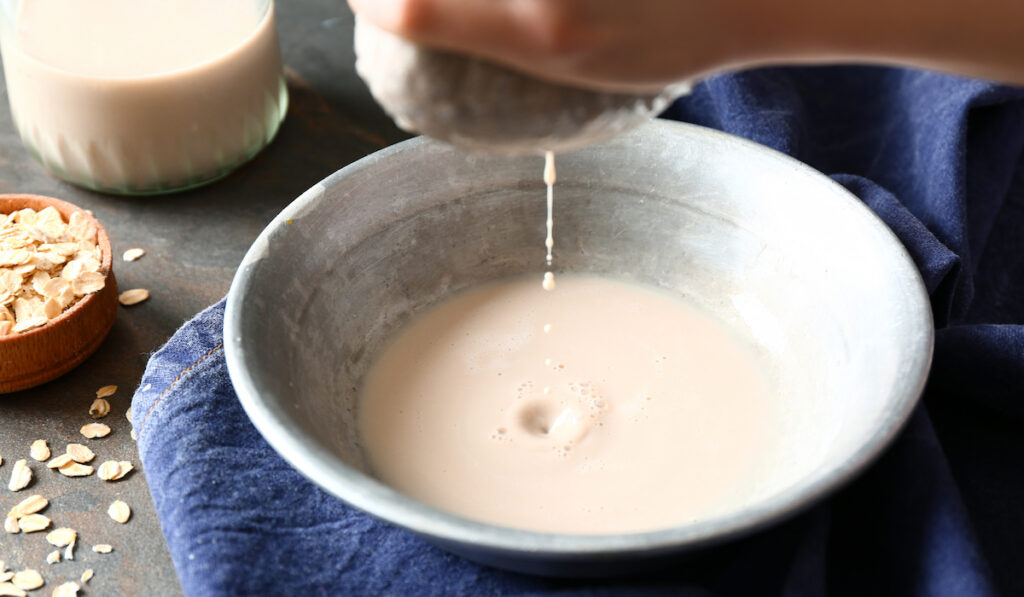
Step 5 – Strain
Once you have given your oats a good mashing and the water is taking on the flavor and appearance of milk, you’re ready to strain the oats out of the water.
Don’t forget to use a fork, a spoon, or some other instrument to smash the oats in the strainer. Squeeze every last drop out of the oats.

Step 6 – Add Flavor (if desired)
Now you can add flavoring like vanilla or honey to give it sweetness and extra flavor. It is not necessary, but some people like flavored oat milk.
Step 7 – Enjoy
Oat milk can be heated up or put in the fridge to get ready for you to drink it cold. It goes great in smoothies and with your morning cereal.
Don’t be afraid to mix up your flavorings to find the perfect oat milk mixture for you. Homemade oat milk has amazing health benefits and it’s something that you will go back to again and again.